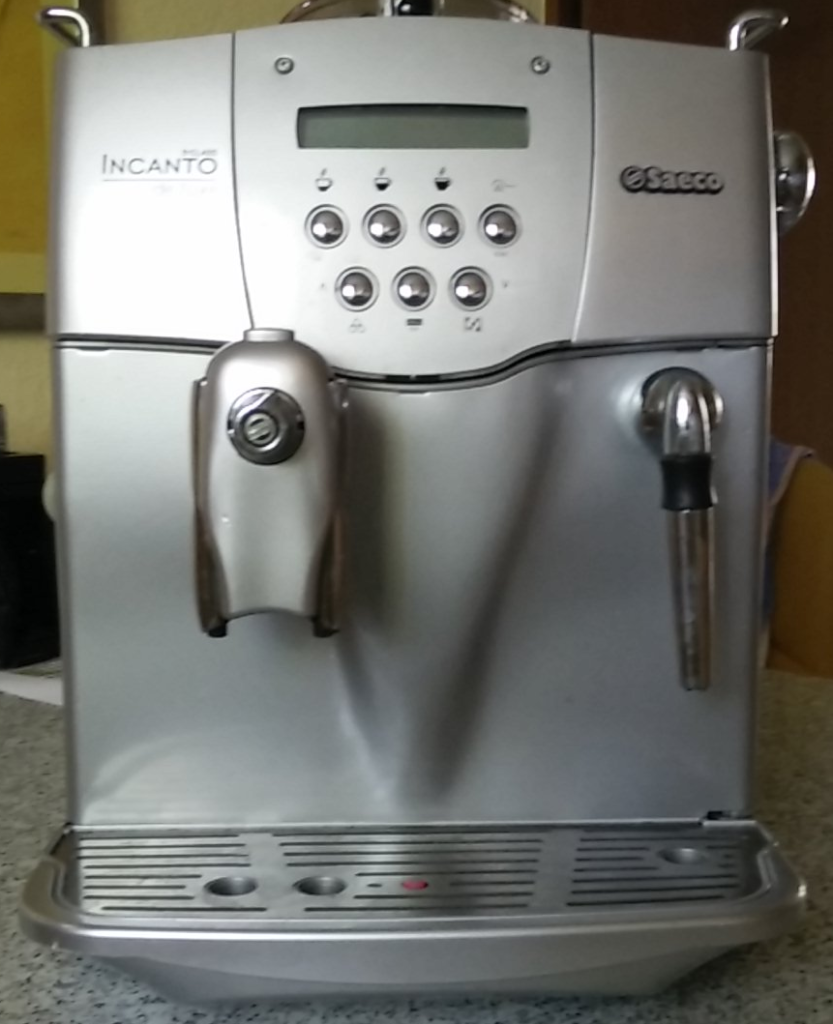
Well, it was a while ago that Incanto gave up after 12 years of excellent service. So you might think, who the hell is this Incanto dude? To make it simple: it’s our fully automated coffee machine serving what most of us developers need most: coffee.
I was just getting a cup of the delicious juice when the display presented the message “Brew unit blocked” and the motor driving the brew unit did not sound as usual. So I turned off the machine, turned it back on which usually drives the motor a few cycles forward and backward as part of the machines self-test. Still this unfamiliar sound. Not so good.
So it was time to visit the Saecco support forum. It has helped in the past, though some of the posts there drift off into some unrelated discussion. After some time, I found a few hints what the problem could be, most of them pointing towards a broken transistor. So it was time to disassemble the machine. From previous fixes of some pipes and a valve I knew how to do that.
The forum post mentioned that the voltage at the motor pins (the red and blue wire on the right side of the board) needs to measure around 33V and if it shows only around 7V then the semiconductor is broken. Getting my voltmeter in place, I found the voltage to be 7V. Sure enough, the transistor is history.
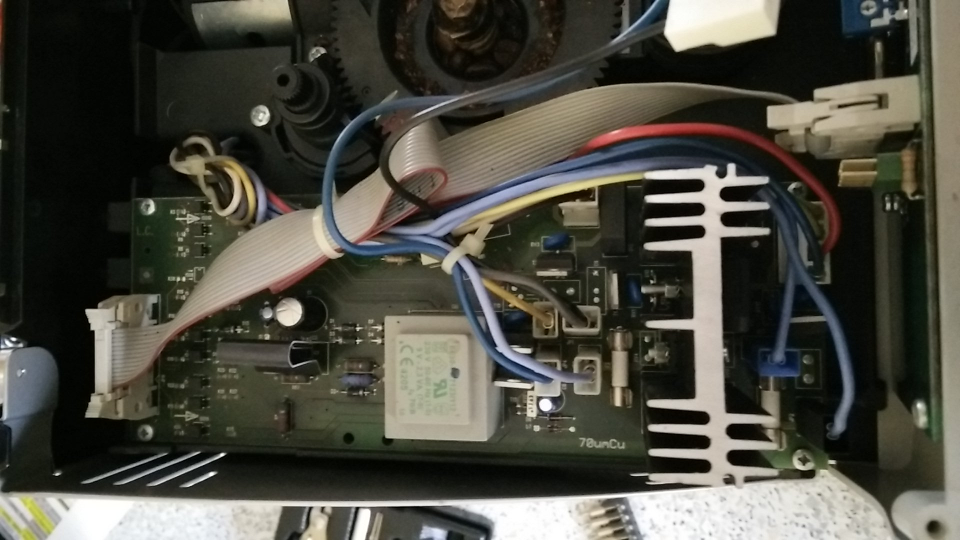
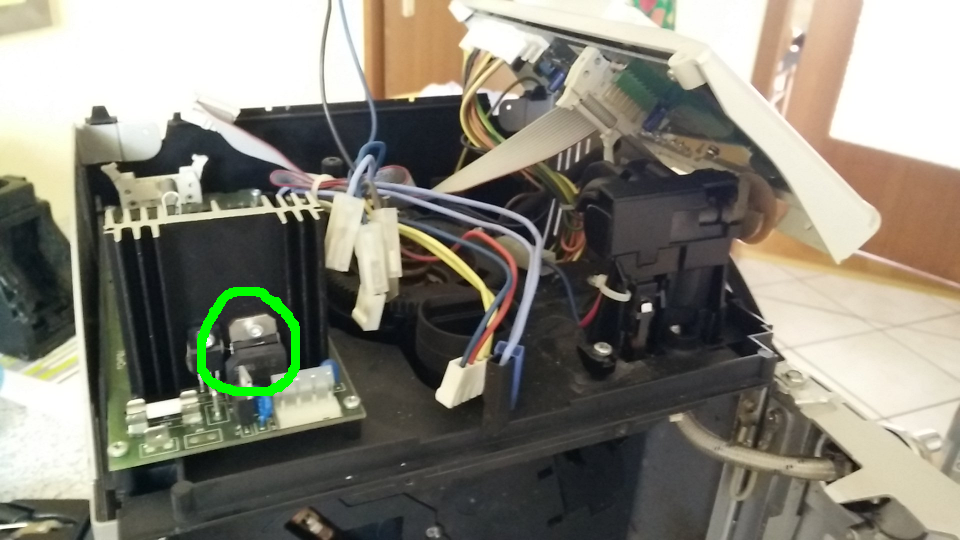
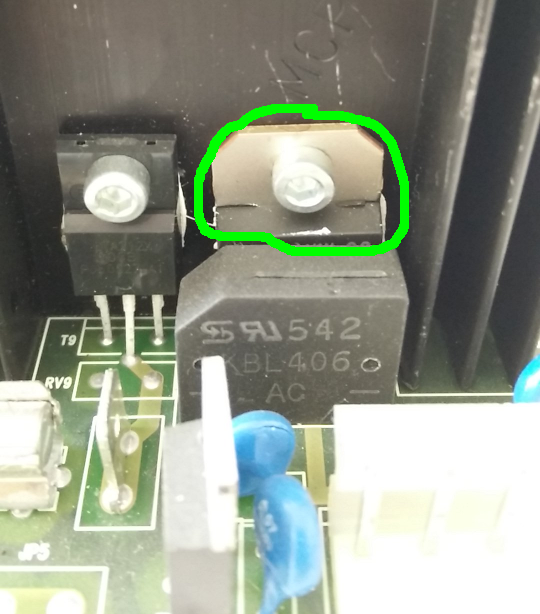
At this point I had a few choices:
- Buy a new machine. Well, ecologically not the best solution and at an in-affordable price of maybe 600+ €.
- Bring the machine to a repair shop which is – lucky for me – just around the corner from where I work. Costs probably around 200 €.
- On the internet I found a replacement for the whole PCB at 99 €.
- Get a replacement transistor at 1,10 € – plus my work time.
So it was pretty clear that the new three-leg-part is the way to go, especially because I have a background in electronic engineering. So I ordered a set of three (you never know) BD249C, two zener diodes and some insulation material just in case at my favorite electronic parts store on the internet (The zener diode is part of the circuit and could also be broken. Since it costs only cents I just ordered them). They shipped the parts a day later and it should arrive just on my birthday. Well, it should have, but it did not, because it got lost. I opened a ticket with the postal service and they promised to get back to me with an answer. Of course, I still wait for the answer today. Not hearing from them, I contacted the supplier. They called me back to let me know, that they investigated the situation with the parcel service and that their answer was: “We currently don’t know where the package is”. So the supplier simply shipped my order a second time without any hassle for me (that is what I call customer service and I can just recommend this shop). This shipment then finally arrived.
Time to heat up the soldering iron and exchange the transistor. A bit later, I took the following picture:
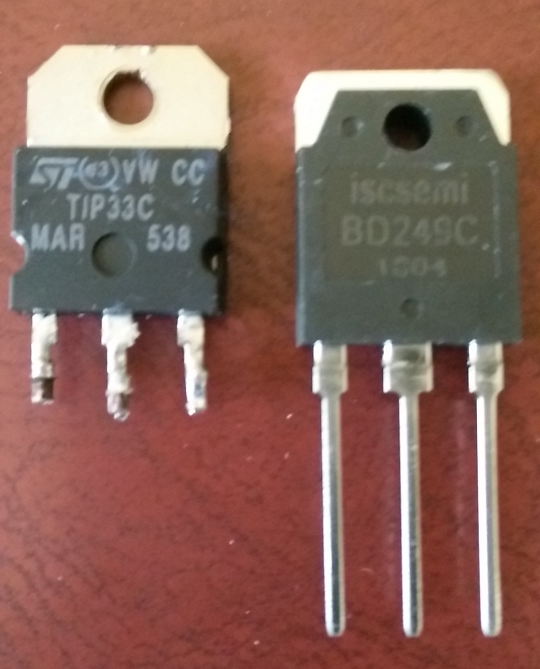
Once I had the transistor replaced, I reassembled the machine, checked all wires that I had removed. Then it was time to power up the engine and enter the machine’s diagnostics mode. This way, I could control the motor without brewing a coffee. But what is that: just a few seconds after the first turns of the motor the board sent out some smoke signs
I stopped the motor immediately and turned off power. The whole house was filled with the smell of burned ampères. What happened? I had no clue. So I consulted the forum again and sure enough, this has happened to other people as well. Apparently, a trace on the pcb broke while I pulled the old transistor, but that trace was on the parts side of the pcb and underneath the transistor and diode bridge which is located directly in front of the transistor. This is the reason, why I did not spot that it was broken. Sure enough this lead to the smoke signs of a varistor. The job of the varistor is to prevent over-voltage to reach the motor and it did a good job at it by committing suicide. (Using the forum I was able to locate the schematics as well. They were for a different model, but following the traces and parts on the pcb I found out that my board contains an identical circuit just with a different placement of the parts).
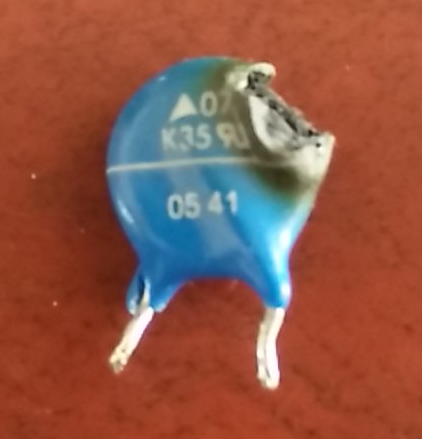
The following diagram shows the circuit with a green mark around the broken transistor, a red cross at the location of the broken trace and inside the blue circle the smoked varistor.

Of course, I did not have a new part at hand. The forum post stated though, that if one checks all connections of this power regulating circuit on the pcb one could remove the broken varistor and test the motor without it. So I checked all the connections using the ohmmeter and fixed the one that was broken using a simple piece of wire.
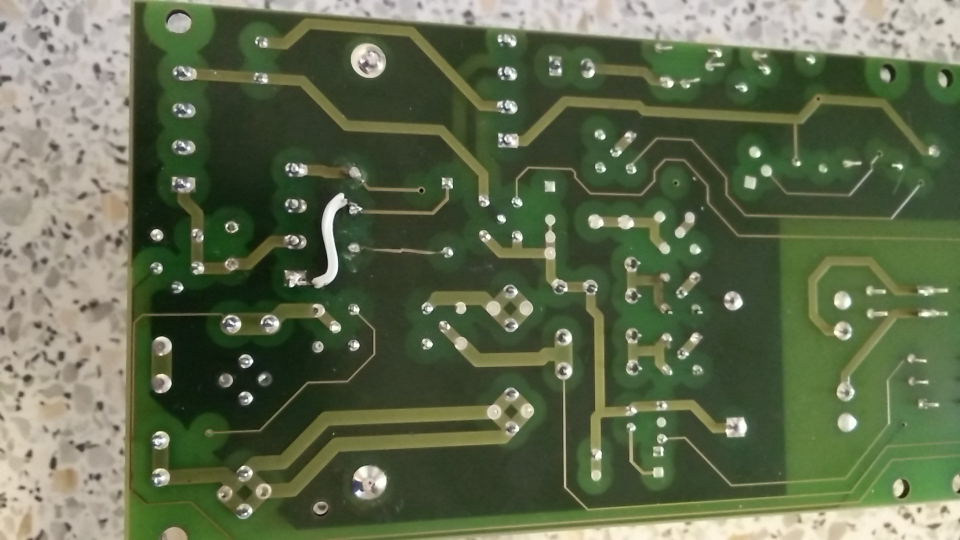
Once the board was fixed, I reassembled the machine again and guess what: the motor sounded familiar. So it was just the matter of getting a new varistor which ran at 0.26 €. Took a few days to get it (since I wanted to safe the 5 € postage on it and had my daughter pick it up directly in one of their stores). One more time, I had to disassemble the machine, insert the varistor and solder it onto the pcb and bring back all the parts into place.
But the effort was worth it: we now have fresh brewed coffee again.
